Thursday, February 16, 2012

Congratulations Jenny & Yuan - Baby Crochet Quilt

Congratulations Jenny & Yuan! Newly wed, now expecting parents!

For my godbrother and his new wife, who are now expecting, I made them and their expected baby a crochet quilt. Yuan's laughing because after years and years AND YEARS, I have been working on a knit blanket for him and to this day, it's still not completed. It'll probably never be completed...hehehe However, after dedicating all of January to the making of a baby blanket for them, it was completed as planned.

The crochet quilt is made up of little hexagon pieces.

Instructions for a single hexagon piece:
Chain 4, form ring with a slst
Chain 2, 19 DC inside the ring, slst to finish the first row
Chain 2, 5 DC inside first DC, skip 2 DC, 6 DC in next DC, repeat around, slst to finish second row
Chain 1, 5 SC inside first DC,  SC in next 5 DC then 5 SC in 6th DC, repeat around, slst to finish third and final row.
It takes 7 hexagon pieces to make a patch...
 There are 6 different colour patches...

Sewing each of the patches together...
 Makes this sweet colourful crochet quilt...
Congratulations Jenny & Yuan! Can't wait for your summer bundle of joy! I'm guessing it's going to be a boy!

Monday, December 26, 2011

More Christmas Cards

Happy belated Holidays everyone! Hope Santa was nice to you, even if you were a little naughty!

Here's a view of some of the other Christmas Cards I sent out during the holidays.


Frosty the Snowmen...


Snowflake Mittens...


Hanging Mittens...


Elf marking his calendar...

Sunday, December 25, 2011

Vancouver Canucks Ornament Christmas Card

It was hard to decide what cards to make for our friends. Some of our friends received custom made Christmas Cards and some of our friends received these Canucks Ornament Christmas Cards, which Richard loves. These were the Christmas Cards I mentioned previously...


It's a fairly simple card to make, once you have all the pieces cut out. The white ornament, Canucks Logo, and Santa hat were all designed and cut out on my Silhouette.


The white ornaments were all embossed with different embossing folders using my Big Shot.

The base of the Christmas Card had all its corners punched out with the Martha Stewart snowflake corner punch.

After all the pieces were taken care of, a little gluing and voila...you have a Christmas Card that can be hung on a Christmas Tree.

Friday, December 23, 2011

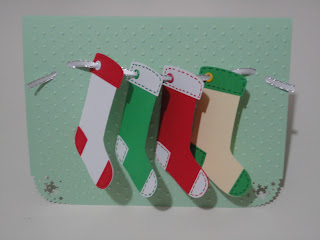
Hanging Christmas Stockings

I have been experimenting with other 3D card ideas. In this particular card, instead of gluing down my decorations, I decided to hang it, which allows it to stand out when it's displayed.


The card was embossed with a polka dot embossing folder with my Big Shot and the corners were punched out with the Martha Stewart Snowflake Corner

Using the Crop-a-dile Big  Bite, I added eyelets to the stockings, so that I can string up the stockings securely.


The stockings were designed and cut out on my Silhouette. Once the pieces were glued together, the stitches were hand drawn on with sharpies. I love my huge sharpies collection.

I was very happy how is turned out. A simple idea is really all you need for an adorable card. My co-worker loved this one because it's sooo her!

Thursday, December 22, 2011

Christmas Box Card

You might think that a Christmas card is just a standard fold-up 2 dimensional card, but that's not true. you can be creative and turn anything into a Christmas card.

I saw a blog the other day where they made a boxed christmas card and decided to give it a try, since I have a co-worker who would love this kind of a Christmas card.


As you can see, it's a box drawer card.


When you pull on the ribbon, the drawer pulls out to reveal the little gifts you've stored inside. In this case, I included a pair of red mittens, a stocking, a santa hat and a 3D snowflake.

This project is quite simple, though you have to be very specific with measurements to make sure the drawer fits perfectly in the box.

Materials used:
Martha Stewart snowflake punch
Martha Steward snowflake corner punch
Scoring Board
Crop-a-Dile Big Bite
Silhouette (for the mittens, stocking and santa hat)

Wednesday, December 21, 2011

Waterfall Christmas Card

My first waterfall card, the Thank You Waterfall Card, for my co-worker Cristina was a success. Everyone at work loved it. Cristina loved it too.

Since then, I decided to make another waterfall card, this time for Christmas.
Using a very simple idea, this is what I came up with...


This card was made with:
- paper cutter
- scoring board
- paper
- stamp
- embossing powder

Tuesday, December 13, 2011

Christmas Card Galore

It's always hard to be ahead of the game...especially with Christmas Cards...ESPECIALLY hand made Christmas Cards...

It took a while, but I finally made enough to mail to my extended family in Edmonton and in the USA.

The mittens were designed and cut out using my Silhouette. The paw prints were with the use of a EK border punch.
Paw Print Mittens
 The "Happy Holidays" is actually a window message cutout designed and cutout using my Silhouette. The snowflakes were from a Martha Stewart Ribbon punch, where I cut all the snowflakes apart.
Happy Holidays Message Window - Snowflakes
 The Snowman, along with his scarf and hat were designed and cutout on my Silhouette. The corner snowflakes were made with a Martha Stewart snowflake corner punch.
Tri-Fold Snowman
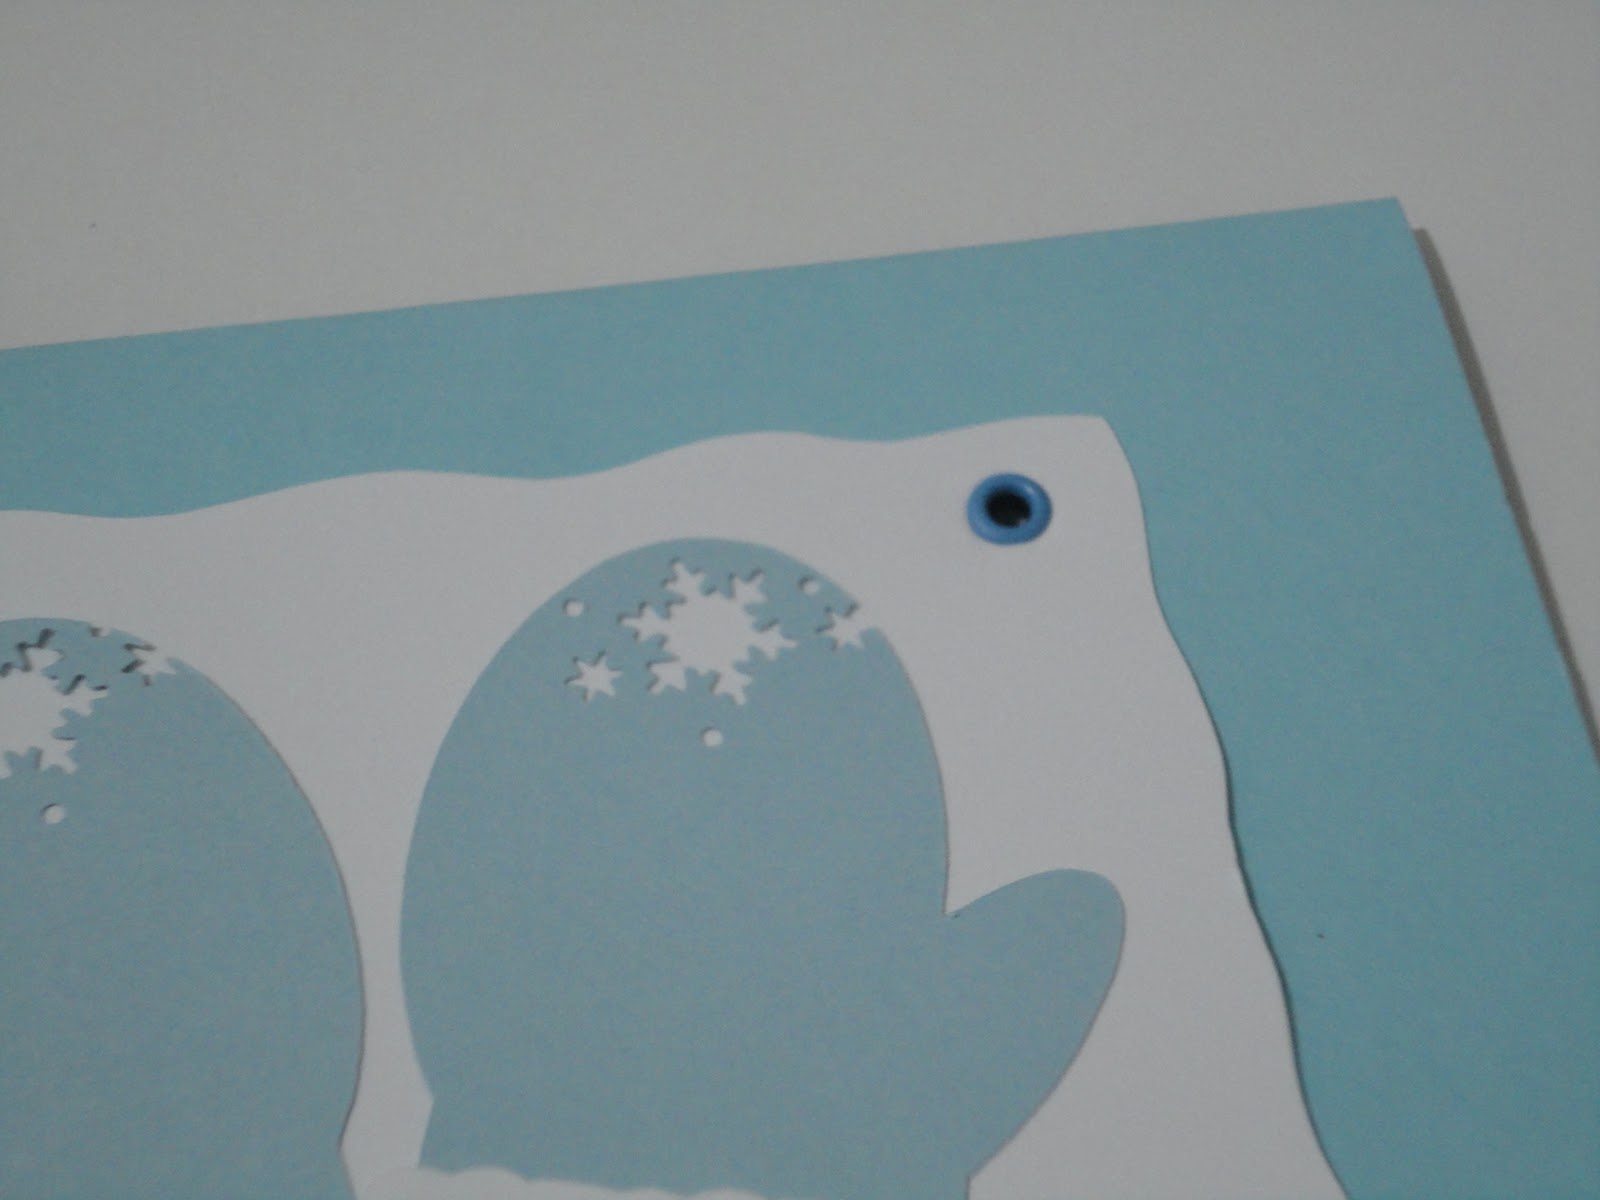
 This card is my favourite! The mitten was designed and cutout on my Silhouette. The snowflakes were punched out with the use of a Martha Stewart snowflake border and corner punch set.
Snowflake Mitten
 The frame was punched with the Martha Stewart snowflake border and corner punch set. The Polar Bears were stamped then silver embossed.
Polar Bear Silver Emboss
 I was going with simple and clean with this card. The Holiday Message was copied from a stamp design I saw, which I copied in MS Word and printed out on my HP Colour Laser. The edge was punched out with a Martha Stewart snowflake border and corner punch set.
Holiday Message Tag
I finally opened up what I thought was white embossing powder for this card, but it turned out to be a pearl clear embossing powder. It still looked great...so this was completely decorated with wet stamp embossing along with a dry embossing border using my Big Shot.
Pearl and Gold Wet Emboss and Dry Embossing Border
 The red decoration plate was decorated with a Martha Stewart snowflake border and corner punch set. The snowman, along with his pipe, hat and scarf were designed and cutout on my Silhouette!
Snowman
 This card is cute....the Xmas is a message window cutout designed and cutout on my Silhouette, along with all the pieces of the Santa outfit! The corners were punched with a Martha Stewart snowflake corner punch.
Santa Claus Clothing
 This is a simple card...I'm still not too sure about it. I used a Martha Steward snowflake ribbon punch along with platinum vellum paper to make the snowflakes. The message was copied from a stamp and printed out on my HP Colour Laser Printer.
Snowflake ribbon - Holiday Message
I designed a special Christmas Card for Richard and I this season to give out to our friends...stay tune for the next blog post...pssst....it has to do with the Vancouver Canucks....hehehe...no surprise there!