Showing posts with label Time Intensive. Show all posts

Tuesday, January 10, 2017

Book Origami


I have always loved Book Origami! They are the perfect gift for bookworms.

I have looked everywhere, trying to find instructions on how to reproduce one for myself. For a while, all I found where places that sell one for $50-100.

Finally! The wonders of Pinterest! I found instructions on how to recreate one of these gorgeous Book Origami. The first few ones I found, didn't appeal to me. I didn't want to have to sketch my design onto the book edge...my OCD on getting the prefect image transferred to the edge would prevent me from making the first mark since nothing will be perfect. However, if you are a sketcher, check out the instructions here:


Anyways, since it's my cup of tea, I kept searching...and finally, to start of 2017, I found instructions that appealed to me. This one allowed me to combine my love for my computer and my love for my books to create a gorgeous Book Origami. You can check out instructions here:


To summarize, in brief, it's very very easy to prepare, just requires time and tedious focus on details.

1. Create your black and white design, keep in simple
2. Select a book, note the number of pages in the selected book
3. In Excel, number your columns, using odd numbers, to represent each leaf of the book
4. Embed your image onto the Excel file and stretch the image to cover the span of each column representing each leaf in the page
5. Print your excel file
6. Line up each leaf to the line on the print out and start folding off the white space

The best things about this technique is that:
- You don't need to sketch onto the edge of the page
- Your design can be more intricate
- You won't lose your place in the folding, just line up your leaf to the corresponding line on your print out

To celebrate the new year and to bid my bestfriend a bon voyage back to her home on the other side of the country, I created my very first Book Origami for her and her family.


Happy New Year everyone!

(I also unpacked my embroidery/sewing machine to create a book cover, to cover up the cover of a discarded book that I decided to use for this present, since no book lover would be able to fold up one of their favourites, that will most likely be read again and again!)

Sunday, April 13, 2014

My Wedding Invitation

I've been married for over a year now and finally I have time to post about my wedding invitation.

My wedding invitation is a 2 fold 3 dimensional design, with a custom made fitted envelope.

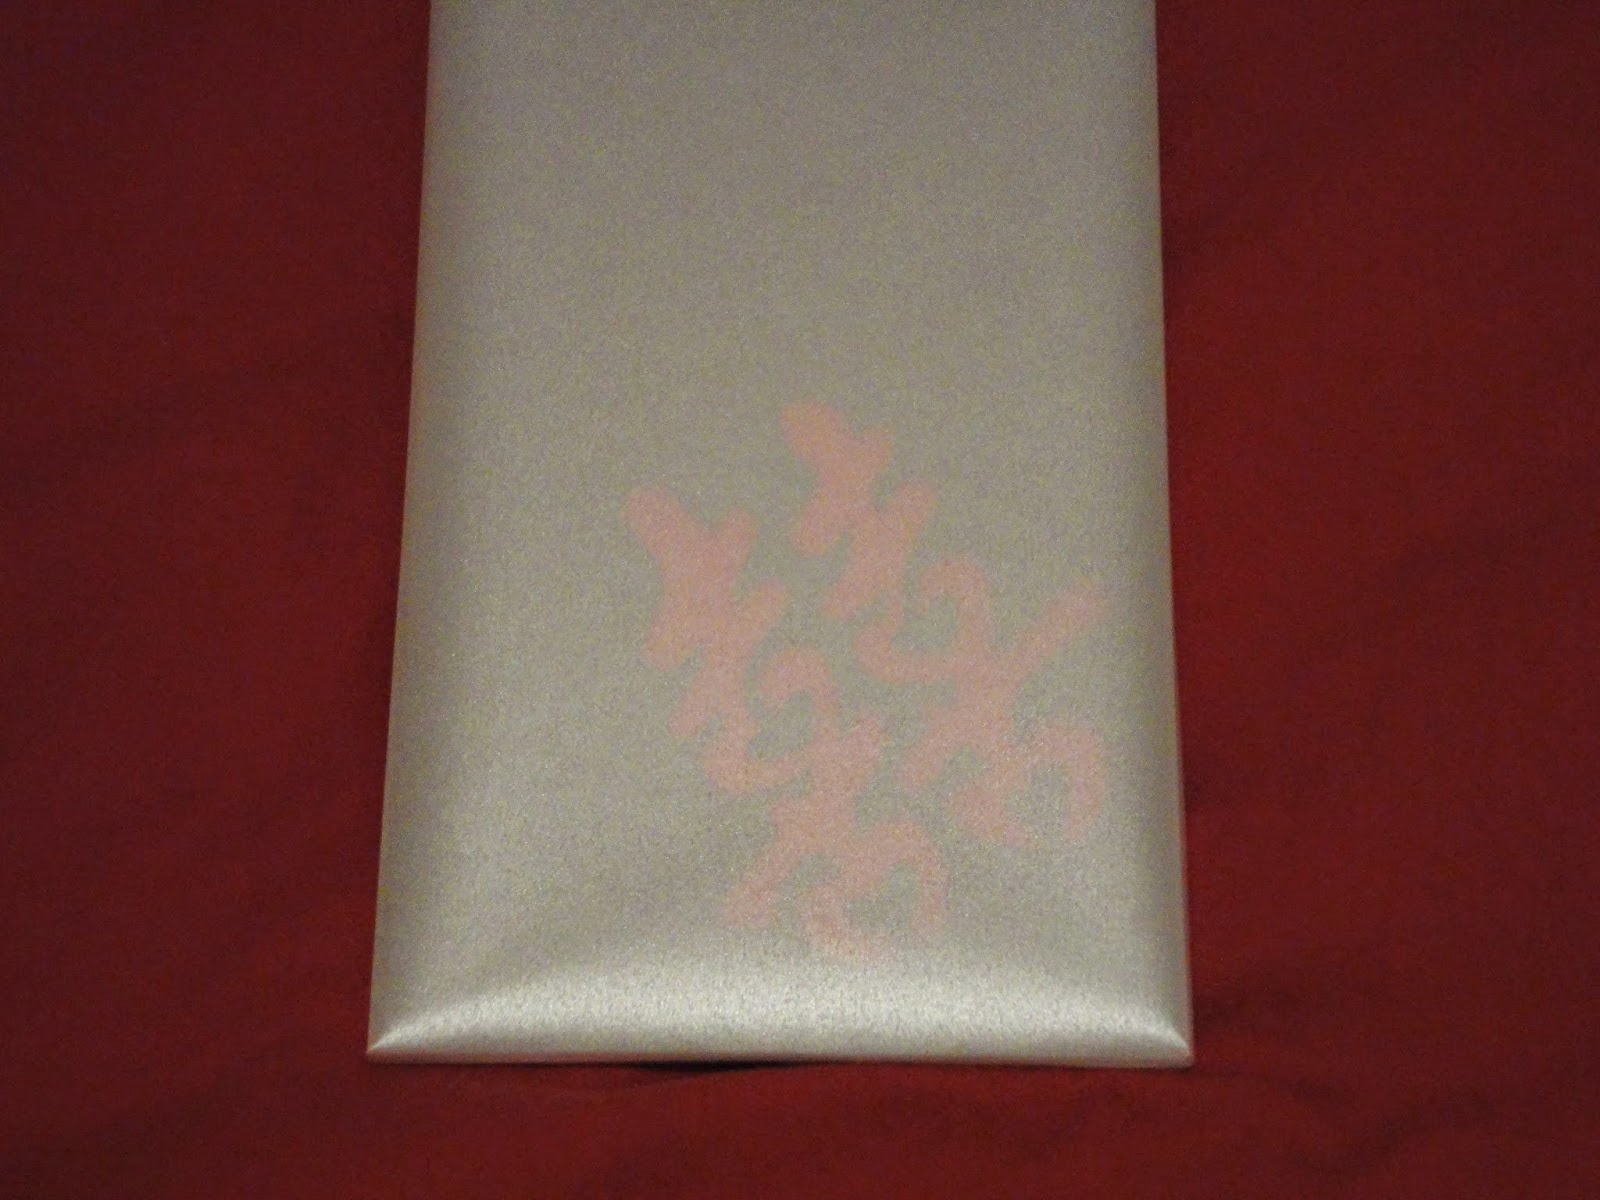
The envelope was made using a platinum vellum, so that it's translucent enough for you to see the wedding logo. The envelope was made using a scoreboard, scissors and sookwang double sided tape.

Before the envelopes were made, each one was printed on my colour printer with the recipient's mailing address and my return address.


 This was the wedding invitation all folded up. The real invitation is actually a slightly lighter dark grey. This one was the prototype.


I custom made the logo, modifying the Chinese double happiness symbol so that it has subtle hearts in the symbol. Each invitation would have the logo cut out by my Silhouette SD. My poor baby is going to have to cut over 300 logos...


When you open up the wedding invitation completely, you will have 3 silver panels. Each panel will have the wedding invitation, the translated invitation in Chinese or Vietnamese, and the final panel will have one of our engagement photos.


If you close the far right panel, you will see a red pocket panel. This is where I had information on the reception and direction, the ceremony and direction, accommodations for our out of town guests and limited invitation to the Tea Ceremony. It will also include an RSVP note.


I made, with help from Richard and friends, over 200 personalized invitations.

Thursday, February 16, 2012

Congratulations Jenny & Yuan - Baby Crochet Quilt

Congratulations Jenny & Yuan! Newly wed, now expecting parents!

For my godbrother and his new wife, who are now expecting, I made them and their expected baby a crochet quilt. Yuan's laughing because after years and years AND YEARS, I have been working on a knit blanket for him and to this day, it's still not completed. It'll probably never be completed...hehehe However, after dedicating all of January to the making of a baby blanket for them, it was completed as planned.

The crochet quilt is made up of little hexagon pieces.

Instructions for a single hexagon piece:
Chain 4, form ring with a slst
Chain 2, 19 DC inside the ring, slst to finish the first row
Chain 2, 5 DC inside first DC, skip 2 DC, 6 DC in next DC, repeat around, slst to finish second row
Chain 1, 5 SC inside first DC,  SC in next 5 DC then 5 SC in 6th DC, repeat around, slst to finish third and final row.
It takes 7 hexagon pieces to make a patch...
 There are 6 different colour patches...

Sewing each of the patches together...
 Makes this sweet colourful crochet quilt...
Congratulations Jenny & Yuan! Can't wait for your summer bundle of joy! I'm guessing it's going to be a boy!

Friday, August 5, 2011

Christmas in the Summer


Stores this year have been promoting Christmas in July. Strange you might say? Not really.
It takes quite a deal of time to make gifts for people and you can't procrastinate...so the earlier you start, the better it is for you.

A few years ago, 2008, I had decided to knit scarves for a handful of close friends and family.
So off I went to Walmart to pick up a variety of colours of yarn...

This green one was for my niece Michelle. She chose green as her latest favourite colour.
So I put together this cute little green one with it's twists and tassled ends.


This purple one was for one of my best friends, Melanie.
During this time she was leaning towards the colour purple, so a purple butterfly pattered scarf it was for her.
 
 
This simple brown scarf was for one of the guys, who wasn't into any frill. Quite suitable for anyone! One of the easiest to make.


This funky blue scarf has a V-pattern on either ends. It was quite complex for a simple looking design.
Another simple scarf for one of the guys. This one has a checkered textured pattern.


I had a great time making different scarves for different people. I think for that year, I made almost a dozen scarves. Each took me about a half a month to make depending on the complexity of the pattern and design...along with how many mistakes I made along the way because I lost count...lol

Probably in a few more years, I'll come up with something else to make for a select few :)