Happy Holidays everyone!
Do you find it hard to select "the perfect" gift for your parents or grandparents or even great grandparents (GGs)?
Well, we did too!
After mailing out all of our Christmas Cards, the GGs, indicated how much they loved it and are displaying it for their neighbours to enjoy too.
An idea "POPPED" into my head, of a nixed idea for this year's Christmas Card.
Recognized this pop-up Christmas Tree? Well, mass producing it was nixed, but creating a large one for the GGs, would be perfect!
In lieu of the regular Christmas ornaments, I replaced it with photos of each member of the family. All 4 generations of us, in ornament form. Now they will have all of us around for the holidays, when we can't all be there at once. There's a lot of us now!
Turned out really well. I printed everyone on vellum paper so it would "pop" when a light is shining through.
I also found at the dollar store, these cute mini snowflake LED lights (battery operated). Perfect for the little tree.
Looks great lite up don't you think?
The best things about this Christmas tree is that it collapse flat, perfect for mailing and storing for future use.
The ornaments can be updated and added to as the kids grow and as the family expands more.
I love crafting and I thought I'd share some of my projects here with everyone else!
Showing posts with label 3D. Show all posts
Wednesday, December 13, 2017
Monday, December 11, 2017
2017 Selman Christmas Cards
Happy Holidays! Season's Greetings!
Wishing you and your family a wonderful time together!
A full year with TWO boys! Where will I find the time to make Christmas cards? Let's not even get ahead of ourselves here, where will I find the time to design a new Christmas Card? It's going to be impossible!
Of course, never say never!
I started thinking about Christmas cards during the summer. Never stuck to any one idea till literally last month. Then voila, a firm idea, all thanks to Silhouette America Design Store! I love this site...I visit it weekly for free cut designs and on sale cut design. Last month, I discovered a new contributor to the Design Store, Love Pop Card, and low and behold they had an amazing 3D pop up steam engine for purchase.
Anyways, after purchasing the cut file and sending it through my Cameo, the train turned out amazing. Don't let it's intricate detailed design deceive you, it not fragile and was quite easy to assemble. Logan loved it. Grabbed it...popped it open....ran to his room to display it prominently on his bed's headboard shelf.
I toyed around with mass producing the train. Nixed it within minutes. Too many pieces to deal with in the limited time I had at my disposal.
I toyed around with the idea of a Christmas tree. Made two small ones that Logan loved immediately, so he hijacked to be part of his train display in his room. I, however, nixed this idea too. It was just missing something and I didn't really have time to tweak it to my satisfaction for mass producing. However, stay tune for how I did end up using this Christmas idea.
So back to the drawing board. I know I really wanted to make a pop-up card this year. I know, sticking to the family love, it has to represent hockey in some form or another.
Eureka! After doodling and freehand cutting, I got the prototype done of this year's annual Christmas card! I showed Richard for a quick approval, then showed Logan and he loved it and want one for ALL his friends! Eek!
Mass production commenced...
...three separate sets of design pieces were made...
...three separate cuts were run through the Cameo...
...careful assembly took place...
...decorations were designed, cut and added...
...custom envelopes were made...
...and voila
A hundred cards were made and sent out to a select list of family & friends. I capped myself at a hundred cards or I would never stop making cards!
First batch (with the majority of the cards) were completed and mailed out just before December 1st, just before international delivery deadline! My international recipients started receiving their cards a week after mailing. Woohoo! Talk about good timing!
Saturday, February 7, 2015
2014 Christmas Cards
I love making different Christmas cards and even after making the "Selman" Christmas cards, I still had to make an extra batch of Christmas cards...
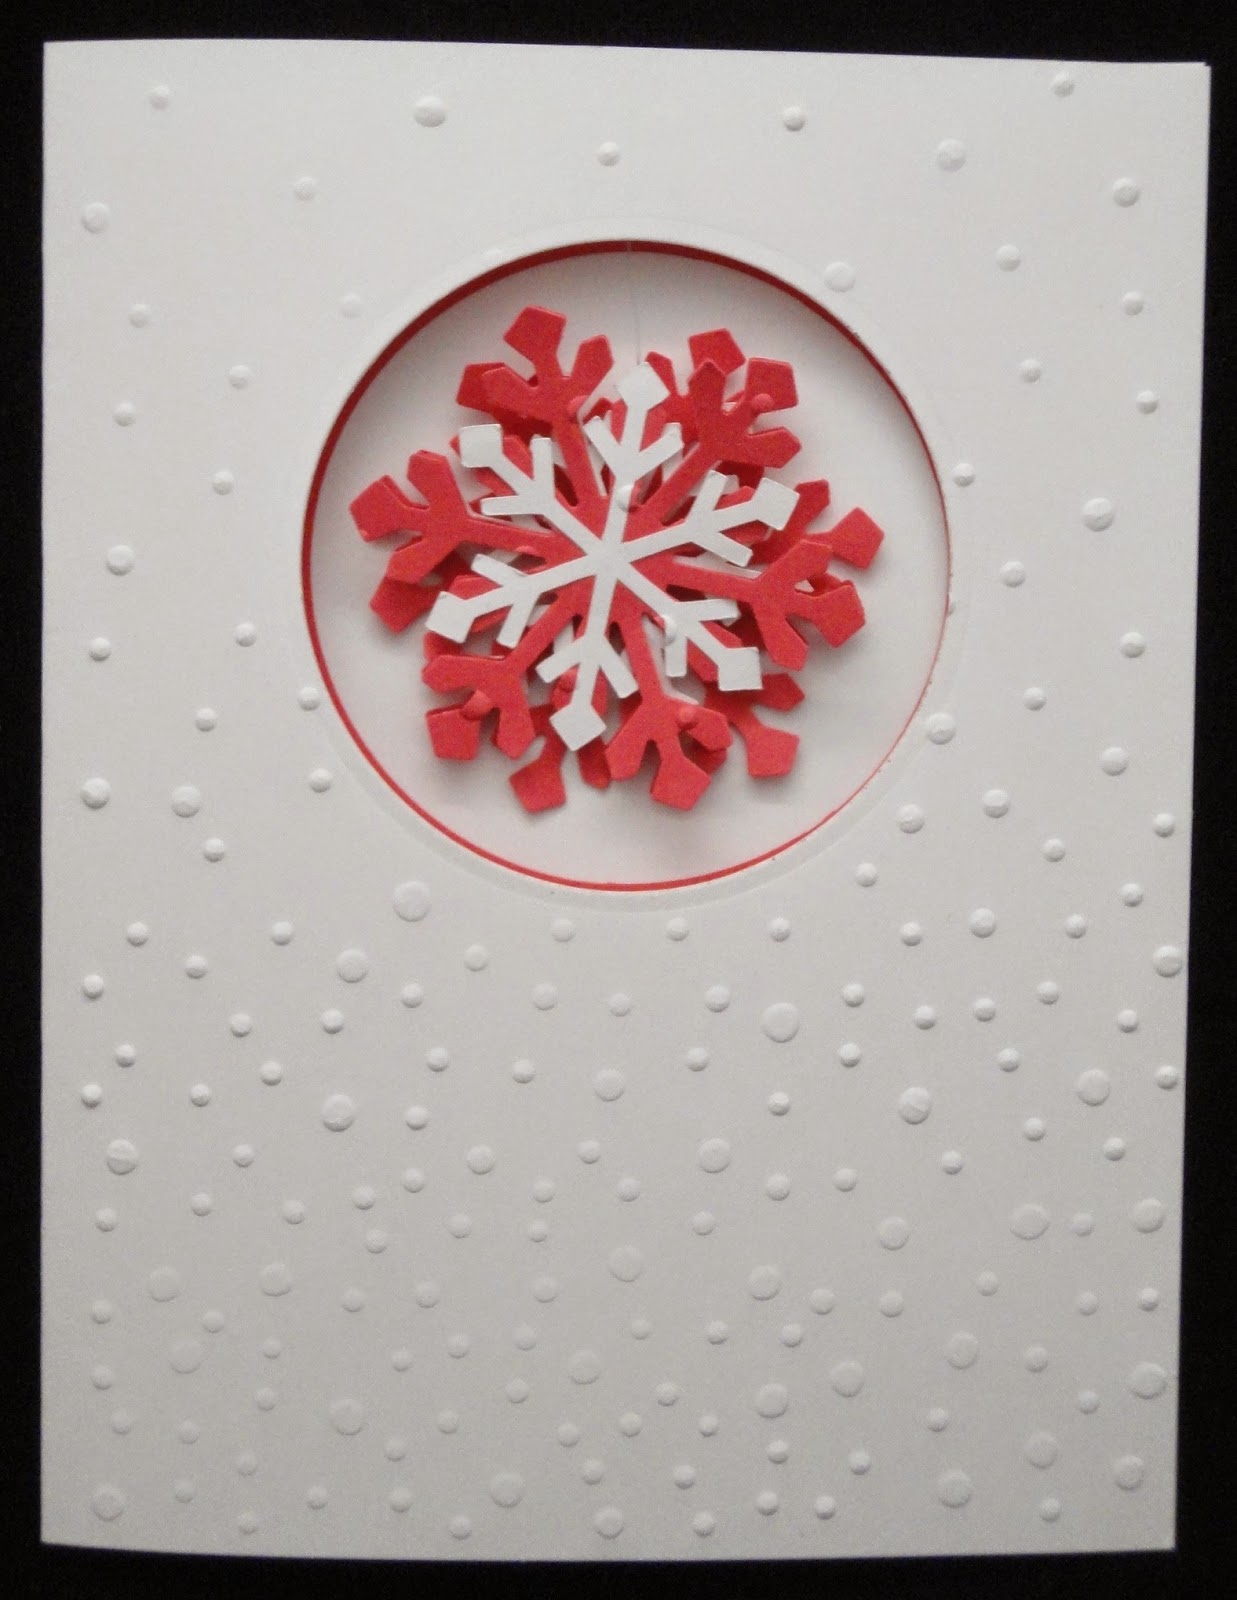
My mother asked for her own set of Christmas cards this year, so I designed this one for her. It's a windowed card with a floating 3D snowflake. The snowflakes were from Martha Stewart punches. The cover of the card was embossed with the Big Shot. There's also another snowflake attached by a brad on the inside.
For this set of Christmas cards, I just utilized the Christmas punches and embossing folders. Trying to get use to simple layering. I've always been guilty of over thinking my designs!
This was a fun one...3D Christmas Tree...
Until I start working on the 2015 Christmas cards...have a great New Year everyone!
My mother asked for her own set of Christmas cards this year, so I designed this one for her. It's a windowed card with a floating 3D snowflake. The snowflakes were from Martha Stewart punches. The cover of the card was embossed with the Big Shot. There's also another snowflake attached by a brad on the inside.
For this set of Christmas cards, I just utilized the Christmas punches and embossing folders. Trying to get use to simple layering. I've always been guilty of over thinking my designs!
This was a fun one...3D Christmas Tree...
Until I start working on the 2015 Christmas cards...have a great New Year everyone!
Sunday, April 13, 2014
My Wedding Invitation
My wedding invitation is a 2 fold 3 dimensional design, with a custom made fitted envelope.
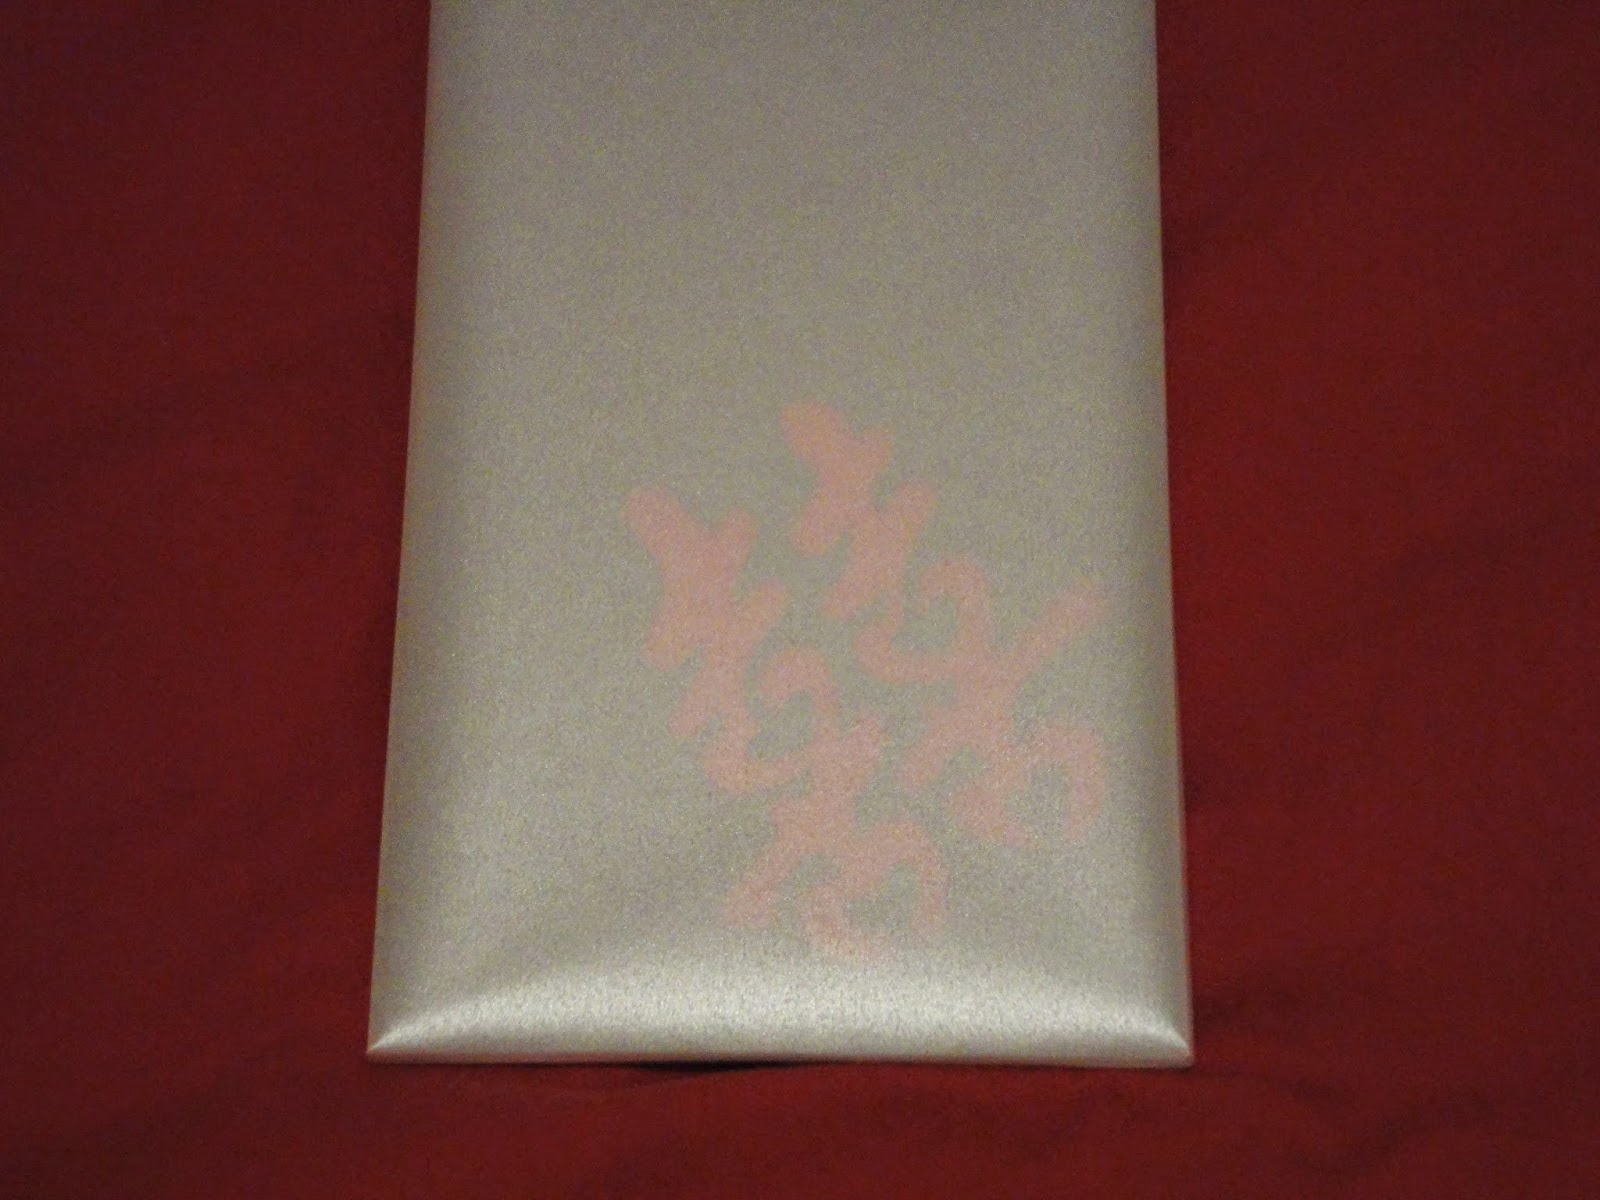
The envelope was made using a platinum vellum, so that it's translucent enough for you to see the wedding logo. The envelope was made using a scoreboard, scissors and sookwang double sided tape.
Before the envelopes were made, each one was printed on my colour printer with the recipient's mailing address and my return address.
This was the wedding invitation all folded up. The real invitation is actually a slightly lighter dark grey. This one was the prototype.
I custom made the logo, modifying the Chinese double happiness symbol so that it has subtle hearts in the symbol. Each invitation would have the logo cut out by my Silhouette SD. My poor baby is going to have to cut over 300 logos...
When you open up the wedding invitation completely, you will have 3 silver panels. Each panel will have the wedding invitation, the translated invitation in Chinese or Vietnamese, and the final panel will have one of our engagement photos.
If you close the far right panel, you will see a red pocket panel. This is where I had information on the reception and direction, the ceremony and direction, accommodations for our out of town guests and limited invitation to the Tea Ceremony. It will also include an RSVP note.
I made, with help from Richard and friends, over 200 personalized invitations.
Friday, December 23, 2011
Hanging Christmas Stockings
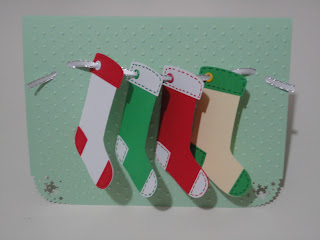
I have been experimenting with other 3D card ideas. In this particular card, instead of gluing down my decorations, I decided to hang it, which allows it to stand out when it's displayed.
Using the Crop-a-dile Big Bite, I added eyelets to the stockings, so that I can string up the stockings securely.
The stockings were designed and cut out on my Silhouette. Once the pieces were glued together, the stitches were hand drawn on with sharpies. I love my huge sharpies collection.
I was very happy how is turned out. A simple idea is really all you need for an adorable card. My co-worker loved this one because it's sooo her!
Thursday, December 22, 2011
Christmas Box Card
You might think that a Christmas card is just a standard fold-up 2 dimensional card, but that's not true. you can be creative and turn anything into a Christmas card.
I saw a blog the other day where they made a boxed christmas card and decided to give it a try, since I have a co-worker who would love this kind of a Christmas card.
As you can see, it's a box drawer card.
I saw a blog the other day where they made a boxed christmas card and decided to give it a try, since I have a co-worker who would love this kind of a Christmas card.
As you can see, it's a box drawer card.
When you pull on the ribbon, the drawer pulls out to reveal the little gifts you've stored inside. In this case, I included a pair of red mittens, a stocking, a santa hat and a 3D snowflake.
This project is quite simple, though you have to be very specific with measurements to make sure the drawer fits perfectly in the box.
Materials used:
Martha Stewart snowflake punch
Martha Steward snowflake corner punch
Scoring Board
Crop-a-Dile Big Bite
Silhouette (for the mittens, stocking and santa hat)
Subscribe to:
Posts (Atom)