Thursday, August 3, 2017

Welcome Hudson!

It's always wonderful when a new member of the family is born.

Welcoming Hudson to the family! We can't wait to meet you!


What better gift than a Hudson Bay "Hudson" bear for Hudson!
You might be an American little guy, but your name definitely reminds you that you're also Canadian!


I couldn't resist making a little name card for Hudson.
Treat it like a book. Treat it like a sign. Treat it anyway you want to use it!
Your momma can record little things on each page about you.

Tuesday, January 10, 2017

Book Origami


I have always loved Book Origami! They are the perfect gift for bookworms.

I have looked everywhere, trying to find instructions on how to reproduce one for myself. For a while, all I found where places that sell one for $50-100.

Finally! The wonders of Pinterest! I found instructions on how to recreate one of these gorgeous Book Origami. The first few ones I found, didn't appeal to me. I didn't want to have to sketch my design onto the book edge...my OCD on getting the prefect image transferred to the edge would prevent me from making the first mark since nothing will be perfect. However, if you are a sketcher, check out the instructions here:


Anyways, since it's my cup of tea, I kept searching...and finally, to start of 2017, I found instructions that appealed to me. This one allowed me to combine my love for my computer and my love for my books to create a gorgeous Book Origami. You can check out instructions here:


To summarize, in brief, it's very very easy to prepare, just requires time and tedious focus on details.

1. Create your black and white design, keep in simple
2. Select a book, note the number of pages in the selected book
3. In Excel, number your columns, using odd numbers, to represent each leaf of the book
4. Embed your image onto the Excel file and stretch the image to cover the span of each column representing each leaf in the page
5. Print your excel file
6. Line up each leaf to the line on the print out and start folding off the white space

The best things about this technique is that:
- You don't need to sketch onto the edge of the page
- Your design can be more intricate
- You won't lose your place in the folding, just line up your leaf to the corresponding line on your print out

To celebrate the new year and to bid my bestfriend a bon voyage back to her home on the other side of the country, I created my very first Book Origami for her and her family.


Happy New Year everyone!

(I also unpacked my embroidery/sewing machine to create a book cover, to cover up the cover of a discarded book that I decided to use for this present, since no book lover would be able to fold up one of their favourites, that will most likely be read again and again!)

Saturday, April 11, 2015

Swansia Consulting Inc - Logo

It's very hard to decide on a company name, let alone a company logo to go with the name.

Swansia is a nickname that was provided to me many years ago by a friend, for RPGs. As you can guess, it's origin was from a swan.

Anyways, at the very beginning, there wasn't really a logo since I wasn't using it for work.

Over the years, I started using it as my company identity, officially incorporating in 2010.

My company logo started off real simple, my hand written S, accentuated to look like a swan:


From there, I played around with graphics program and came up with this, which I used for a few years:


It was a nice simple logo idea, but I just felt it fell a little short. After brainstorming for a few years, I would love to unveil my latest logo for Swansia! I think this is a keeper:


Tuesday, February 24, 2015

Leland's Birthday Train

For parents who have a Silhouette and have kids who love Thomas the Train...this is for you...


This was a fun project for my godbrother and godsister's son's 2nd birthday...though it was a belated birthday present, since I didn't realise that assembly need just a bit more time than I had allocated...lol

Anyways, I purchased 3 designed from the Silhouette Design Store from the artist SnapDragon Snippers...quite affordable at $2.19 each (cheaper if you are a member or during the sale periods) design file that you keep forever. Here are the links to the 3 different design pieces: Engine, Coal Car, and Carriage.

So when you first purchase the 3 designs, it is for a Christmas themed train, looking like this:


So to start off, how do you get the design above to look like the train at the top of this post? It's actually not too hard, since the designs actually label all the different pieces you need to have cut...and with a little trial and error and help from the SnapDragon Snippers blog, I was able to cut what I needed in the colours that I want to assemble everything in to the theme of Thomas the Train.

With a little modification and custom designing this is what I made:


The Engine with the trim showing the year of the birthday boy's year of birth.


The Coal Car with big Ls for Leland.


And finally the Carriage Car with Leland's name on the side and of course more Ls on the front and back.


So with a little time and patience...you can make yourself a 3 car train...to celebrate a special birthday!

Happy belated 2nd Birthday Leland!

Saturday, February 14, 2015

Valentine's Day

Richard and I don't really celebrate Valentine's Day...but that doesn't mean others don't celebrate...this year, I decided to design some Valentine's Day cards for my co-workers.


And of course, I had to design a few special ones for my hockey players...


Hope you all had a wonderful Valentine's day for all those who celebrated!

Saturday, February 7, 2015

2014 Christmas Cards

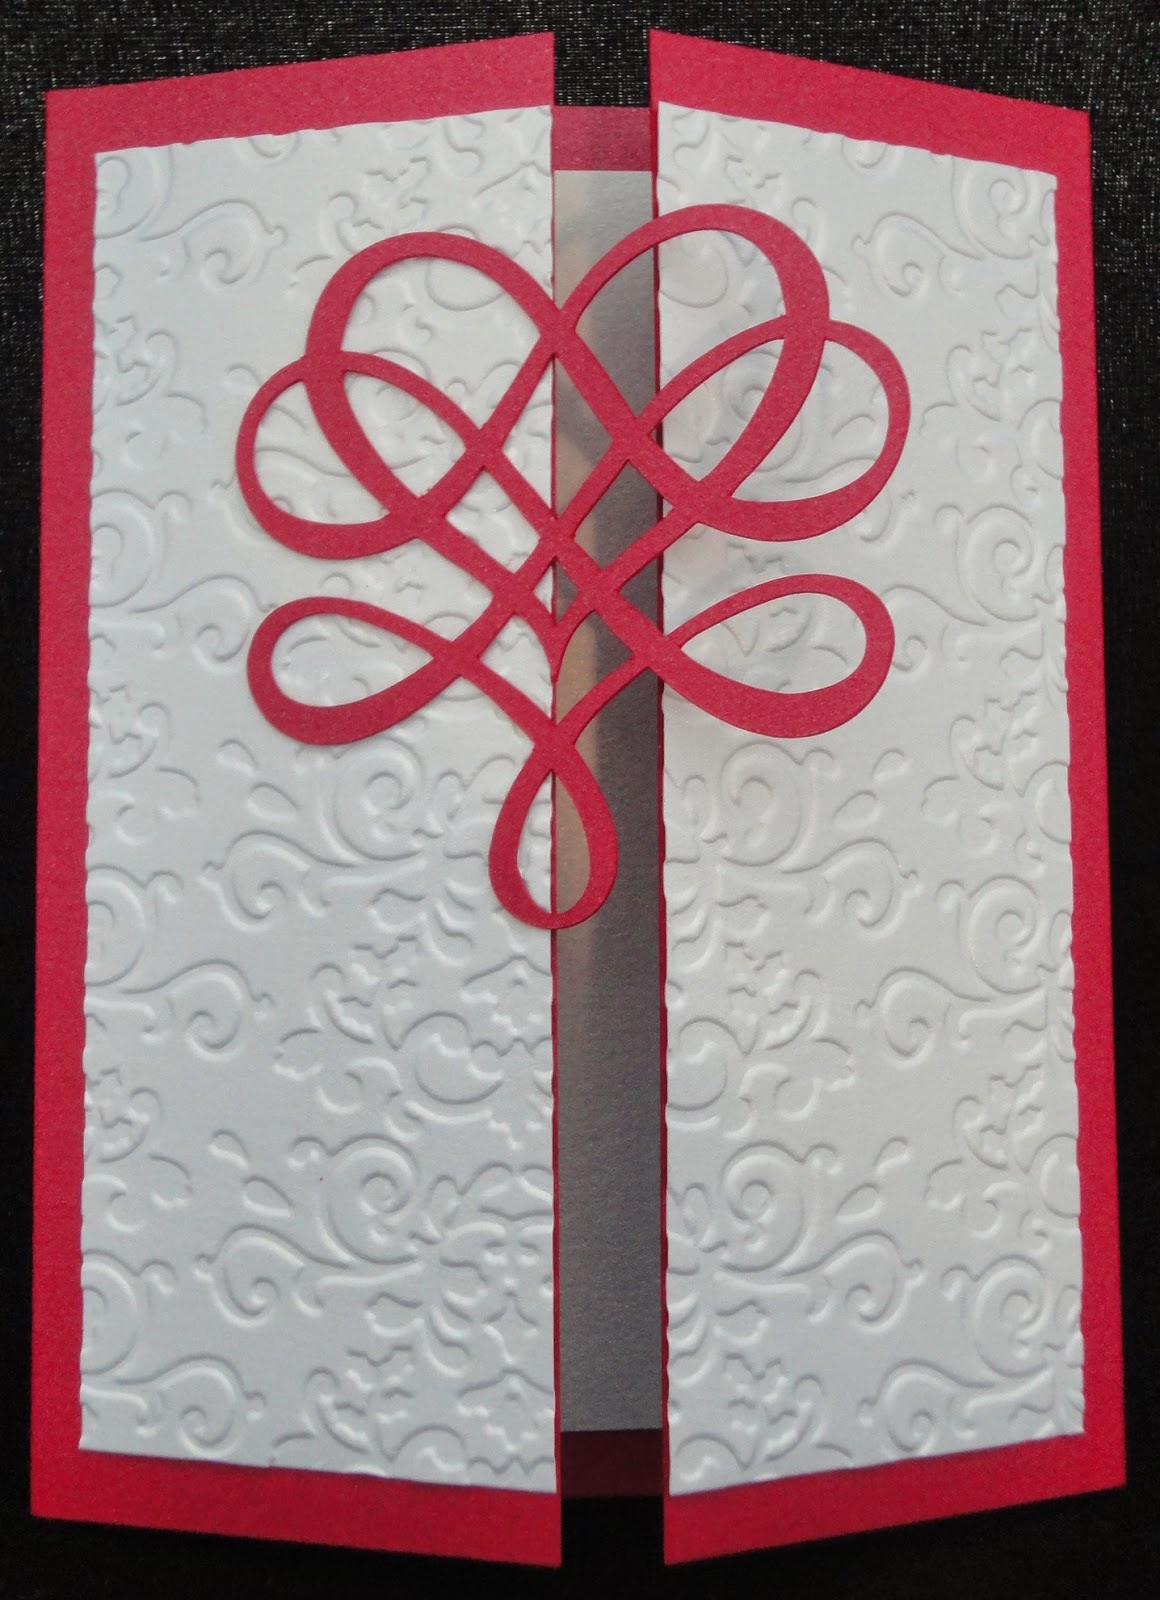
I love making different Christmas cards and even after making the "Selman" Christmas cards, I still had to make an extra batch of Christmas cards...

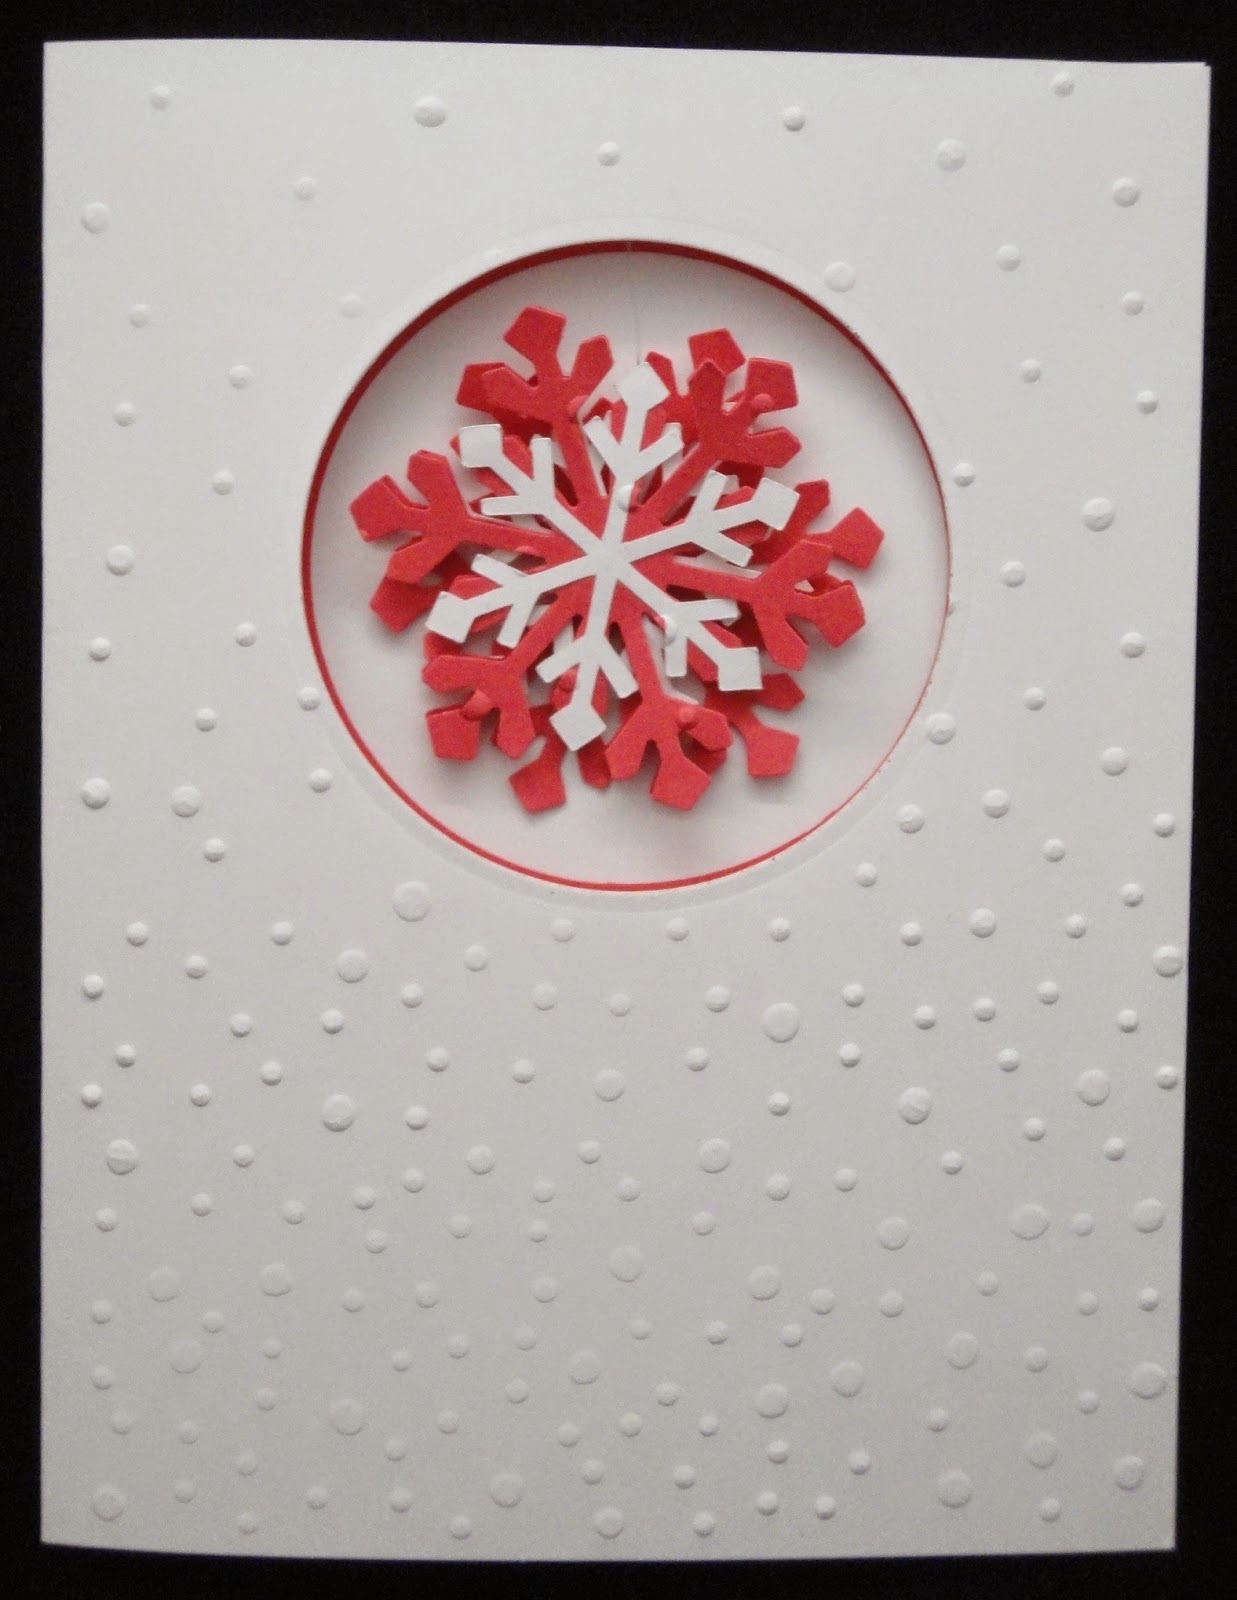
My mother asked for her own set of Christmas cards this year, so I designed this one for her. It's a windowed card with a floating 3D snowflake. The snowflakes were from Martha Stewart punches. The cover of the card was embossed with the Big Shot. There's also another snowflake attached by a brad on the inside.


For this set of Christmas cards, I just utilized the Christmas punches and embossing folders. Trying to get use to simple layering. I've always been guilty of over thinking my designs!


 This was a fun one...3D Christmas Tree...


Until I start working on the 2015 Christmas cards...have a great New Year everyone!

2014 Selman Christmas Cards

It's so hard to stay on top of blogging, but at least I started taking pictures of all the crafting I have been doing.

I always find it daunting to make a large amount of Christmas cards. I especially hate making a large amount of identical Christmas cards since I am hand making them. Kinda boring to make the same one a few dozen times. So, I discovered an alternative to producing a large amount of Christmas cards without redesigning each one, but still making each unique.

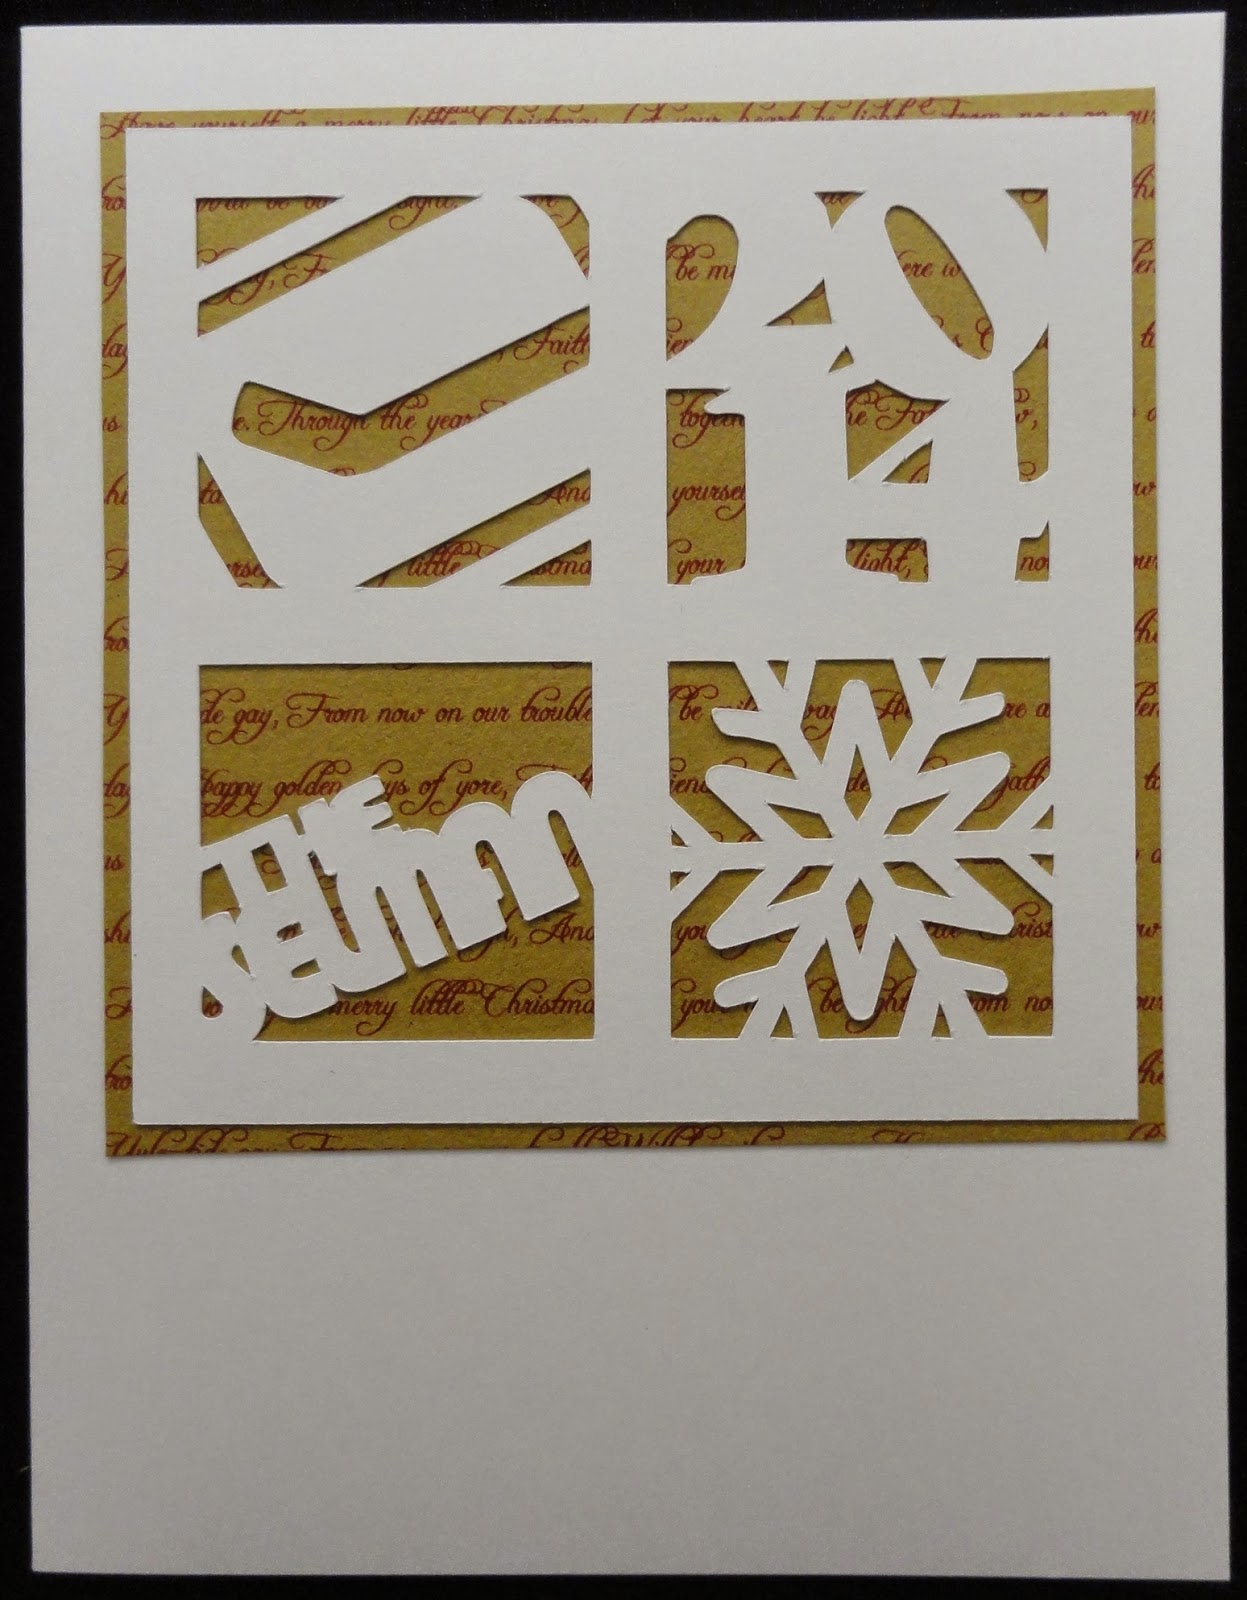
Using my lovely Silhouette Cameo, I designed a white Christmas window pane. We have "The Selman", "2014", a snowflake and last, but not least, Richard's favourite Canucks logo in each window pane. I mass produced the window pane. From there, I got to play around with different colour card bases and highlight coloured paper. Some of them I even embossed with Christmas designs using the Big Shot.

I was very happy with the results...same ideas for each, but each still very unique.