Friday, December 9, 2011

Thank You - Waterfall Card


Waterfall Cards...I had seen these before and had always wanted to make one. I had tried to make a small one last month, but it was not a success. I was missing something. I finally sucked it up and watched a YouTube show on how a waterfall card was made. (Light Bulb lights up!) It was sooo easy once you saw it!

I volunteered to make a Thank You card for a unsung hero co-worker and had decided to re-attempt to make a waterfall card for her.

Using my Silhouette, I cut out her name using a graffiti font, which I mounted on 4"x4" square card stock and the envelope.
Envelope

Assembled Waterfall Card
The Waterfall Card pieces was mounted on a hand written card stock with brads.
Here are photos to show you what happens when you pull on the ribbon to interact with the Waterfall Card...

Once open completely, the message and signature plate opens up!
There you go...my very first successful Waterfall Card.

Thank you Lap for assisting me!

Thursday, December 8, 2011

First Craft Night

I invited my co-workers over for an evening of mom's home cooked Pho followed by an evening making Christmas cards. It would be my very first time hosting a craft night!

As you can see from above, we took over the dining room table and I brought out a lot of my crafting tools and supplies.

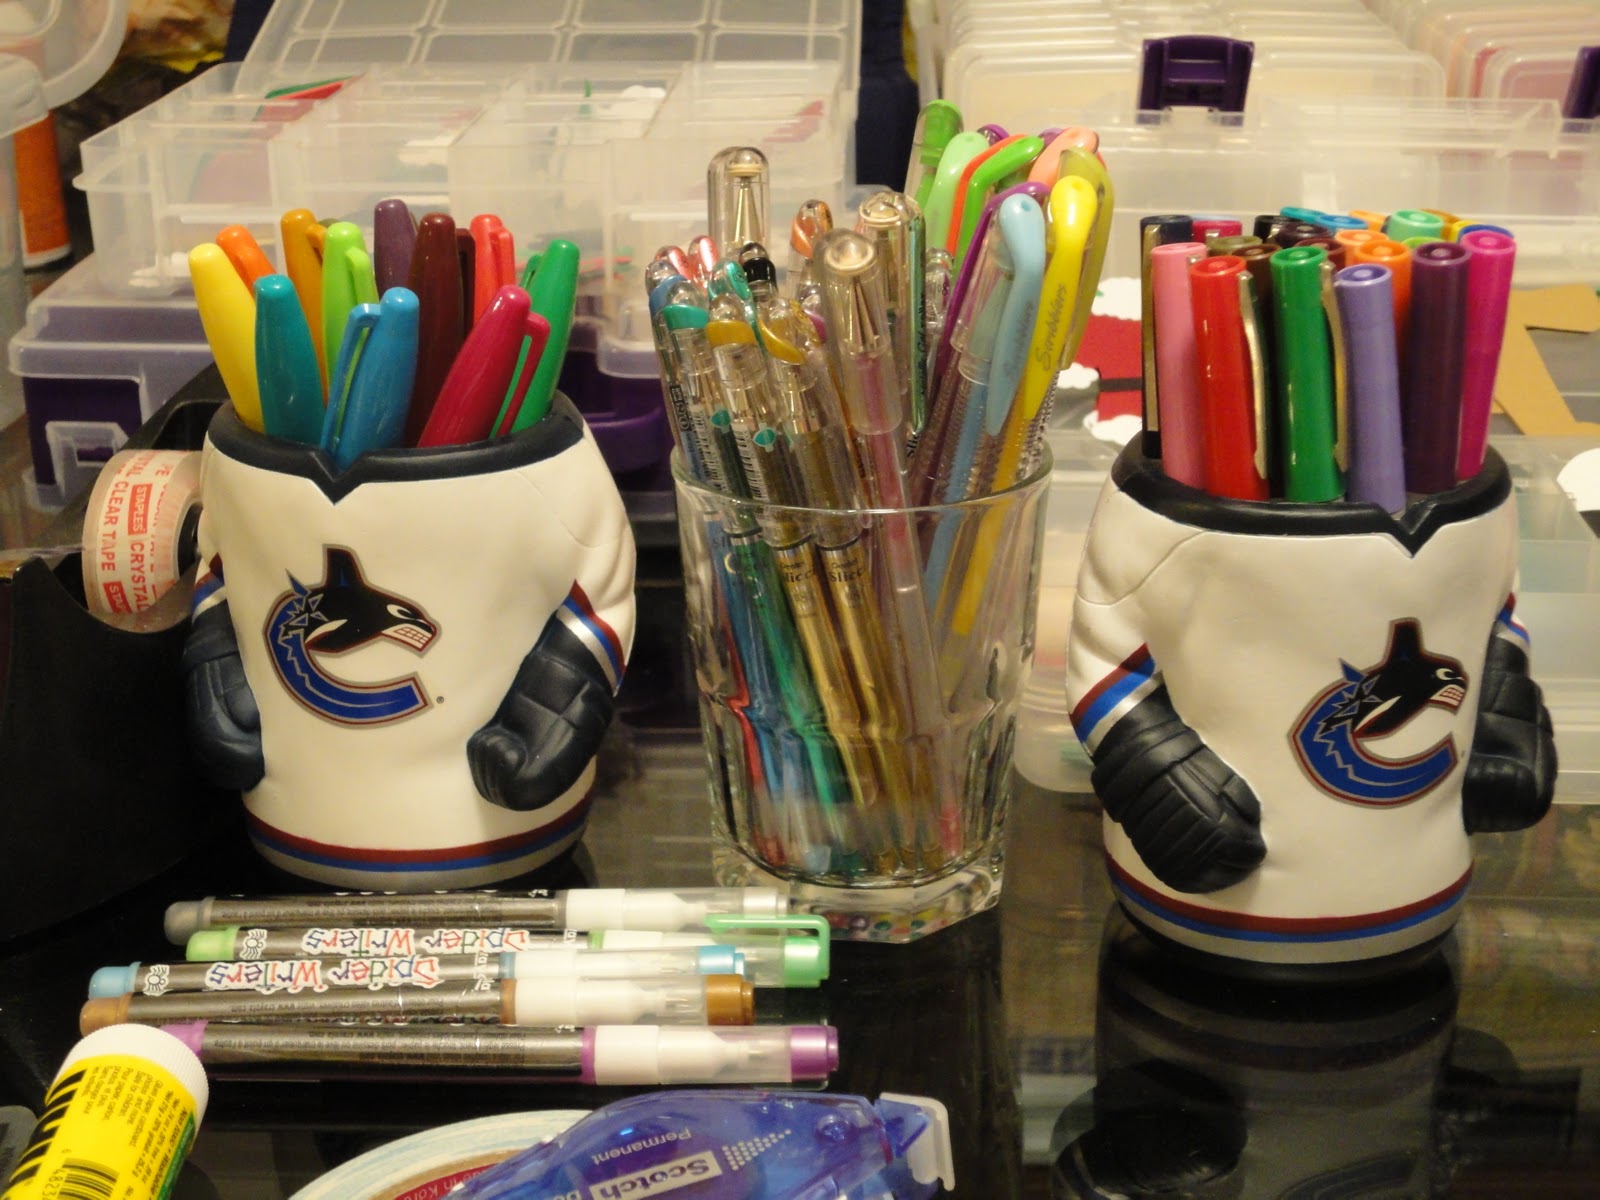
My tools:
Big Shot with embossing folders, dies and embossing plates

Sharpies, pens and spider ink pens

Scissors, glue, tape, and cutting tools

Martha Stewart Snowflake Punches
I also prepared quite a few things using the Silhouette prior to the Craft Night
Santa & Snowman clothing and accessories

Holiday messages, signs, Santa coat, Gingerbread People, Trees
Along with additional supplies to make the cards and decorations...
Card Stock, pattered paper, custom paper prints

Buttons and ribbons
I did my best and the night was a success...more than 7 cards were made...sorrie, I didn't get a chance to take photos of the cards made!

Tuesday, December 6, 2011

Santa's Clothing Christmas Card

I had already made all the different pieces of Santa's clothing using my Silhouette last month. I was preparing for a huge card making day. That day never came, but because all the pieces were already there, it took only a few minutes to come up with an idea for a card and putting it all together!
I embossed a white 6" x 6" card with polka dots using an embossing folder and my Big Shot. Then I decided to just throw Santa's clothes on to the card....
Turned out perfectly...
A quick holiday saying stamped and embossed on the inside and it was ready to be signed and sent off.

Quick Tip
Come up with ideas for cards...like Santa clothing pieces, Snowman decoration pieces, tags, labels...make them all and store them away...then when the time comes, you have all the pieces there to put together a card, rather than spending the time to make everything for a card along with come up with ideas. When you see the pieces before your eyes, an idea will just pop out!

My First Interactive Christmas Card

I've always had a problem with K-I-S-S...keeping it simple is sooo not me, but I am trying. Less is more!

I recently purchased a book called "Interactive Cards" and I just love it! After a lot of humming and hawing, I finally made my first interactive Christmas Card.
This card was handmade without the use of my Silhouette or Big Shot. I was trying to keep things simple while making it seem not simple. So with a little cutting, stamping, embossing and gluing...voila!
This is one of my first attempts at wet embossing since buying all the embossing tools...not bad! I was quite proud of myself that the silver embossing powder showed up really well. Furthermore, I was quite surprised with what I thought was my white embossing powder was actually my pearl clear embossing powder. Still looks great!

When you pull the ribbon at the top of the card, the card pops up...

...to reveal the message.
It's sooo simple to make. I just love it and will probably make quite a few of these cards this season...time permitting!

Supplies used:
3 sheets of 6" x 6" paper
Ribbon
VersaMark Watermark Stamp Ink Pad
Christmas Stamps
Embossing Heat Gun
Papercutter
Glue

Tuesday, November 22, 2011

My First Christmas Card for 2011


I have been preparing for weeks now...pieces and ideas for Christmas Cards...but never took the leap to make an actual card itself...till tonight!

I was playing with Evan'd dog Feneris, aka Fennie, aka Roo. During which I got him to wear Coffee's baseball cap. He was sooooo cute with his ears perked up through the cap (didn't get a picture of it though) and it got me thinking of a card design.


Using my Silhouette, I designed the following:
- a layered silhouette of Fennie
- an XMAS window out of a card layout
- a Santa hat

Here's a quick view on how I put Fennie's silhouette together on my Silhouette.
Vector Drawing of Fennie...there are multiple layers to give it some texture when cut.

Coloured Vector Drawing for ease of viewing

The various layers and pieces to cut

The results were better than I expected...I was preening...hehehe


You can see up close his black eyes on his black brow with his whiskers.
I'll finish the card off with a few finishing touches, along with an envelope then it'll be ready to give to Evan, Flora and Fennie for Christmas :)

Stay tune for the next cards I have planned...

Wednesday, November 9, 2011

My Craftroom v1.0

Every crafter loves to have THE craftroom. I have always dreamed to have THE craftroom since I started getting involved in crafting. Richard, my fiance, finally got me started on MY craftroom! He pulled out all my bookshelves filled with books...my other love...reading. He put in a large gorgeous white table...purchased CHEAP CHEAP from craigslist. He got me cube units from Michaels which he then mounted on the wall over the table. He even installed little pot lights for added lighting to work with. And recently, he got me a shelving unit for additional storage area.

It's still a working progress, but it's on the right track now...I just have to be consistent at organizing everything. The hardest task for a crafter! Ask us to make anything and it's possible without hesitation, but ask us to keep it neat and tidy...almost impossible! You want everything organized with it's proper place but at the same time, it has to be on hand and convenient enough to pull all out again when you are crafting. Too tucked away and you will never pull it out to use!

Here's my working progress craftroom...
My desktop...very spacious...
My Silhouette SD...a personal digital cutter...cuts ANYTHING that I can imagine and much more at my finger tips...
My new toy...Sizzix Big Shot...die cutter and embosser...thank you Yuan for the early bday present...hehehe
Accessories to go with my new Big Shot...new texture plates...old texture plates...embossing folders...
New wall mounts to hang craft tools...
Small storage unit with a ribbon dispenser...
Same wall mounts for the side of my cube units...
My cube units mounted on the wall above my desk to store my paper, boxes, Silhouette and much more...
My potlights for additional light...

A large plastic drawer under the table to store more paper, etc...
A small plastic drawer unit beside my table to store various supplies...ribbons, tape, glue, pens, heat gun, glue gun, etc...
My shelving unit...
Fits my huge guillotine paper cutter, magazines, books...
Paper storage area...I love the stacked paper tray I picked up from Daiso a few years ago...
An no crafter is complete without her brand new wireless colour laser all-in-one printer, scanner, fax and copier...
And to keep the colour laser from over working...a new wirless black & white laser printer...
What you don`t see so far is the mess on the floor, the closet and the computer desk...I have yet to figure out where to put things and how to re-organize...hehehe...I`m working on it.

Thank you for taking a tour of my working progress craftroom...

Swansia

Sunday, November 6, 2011

My Sizzix Big Shot

For an early birthday present, my godbrother Yuan and godsister Jenny got me a Sizzix Big Shot...well, actually, Yuan reminded me he's missing my birthday again, travelling back to Asia...so I told him that I wanted a Big Shot and he just gave me money to buy it...hehehe

This is my Sizzix Big Shot that Richard picked up for me....Richard topped it up with a few embossing folders so that I could play with the Sizzix Big Shot right away =D


I love it!!!!
Time to accessorize some more!