Who doesn't love embossing folders for their Sizzix Big Shot...the problems:
How do you keep it neat and organized?
How do you work with the embossing folders before embossing?
On Pinterest, everyone had amazing ideas on how to store embossing folders.
At the moment, my embossing folders are all nicely tucked away in their individual slots in an embossing folder organizer.
This gorgeous case takes care of all my embossing folders...and keeps all my embossing folders conveniently portable!
Now, I had to figure out what to do to have samples of my embossing folders readily on hand while I have my creative thinking hat on.
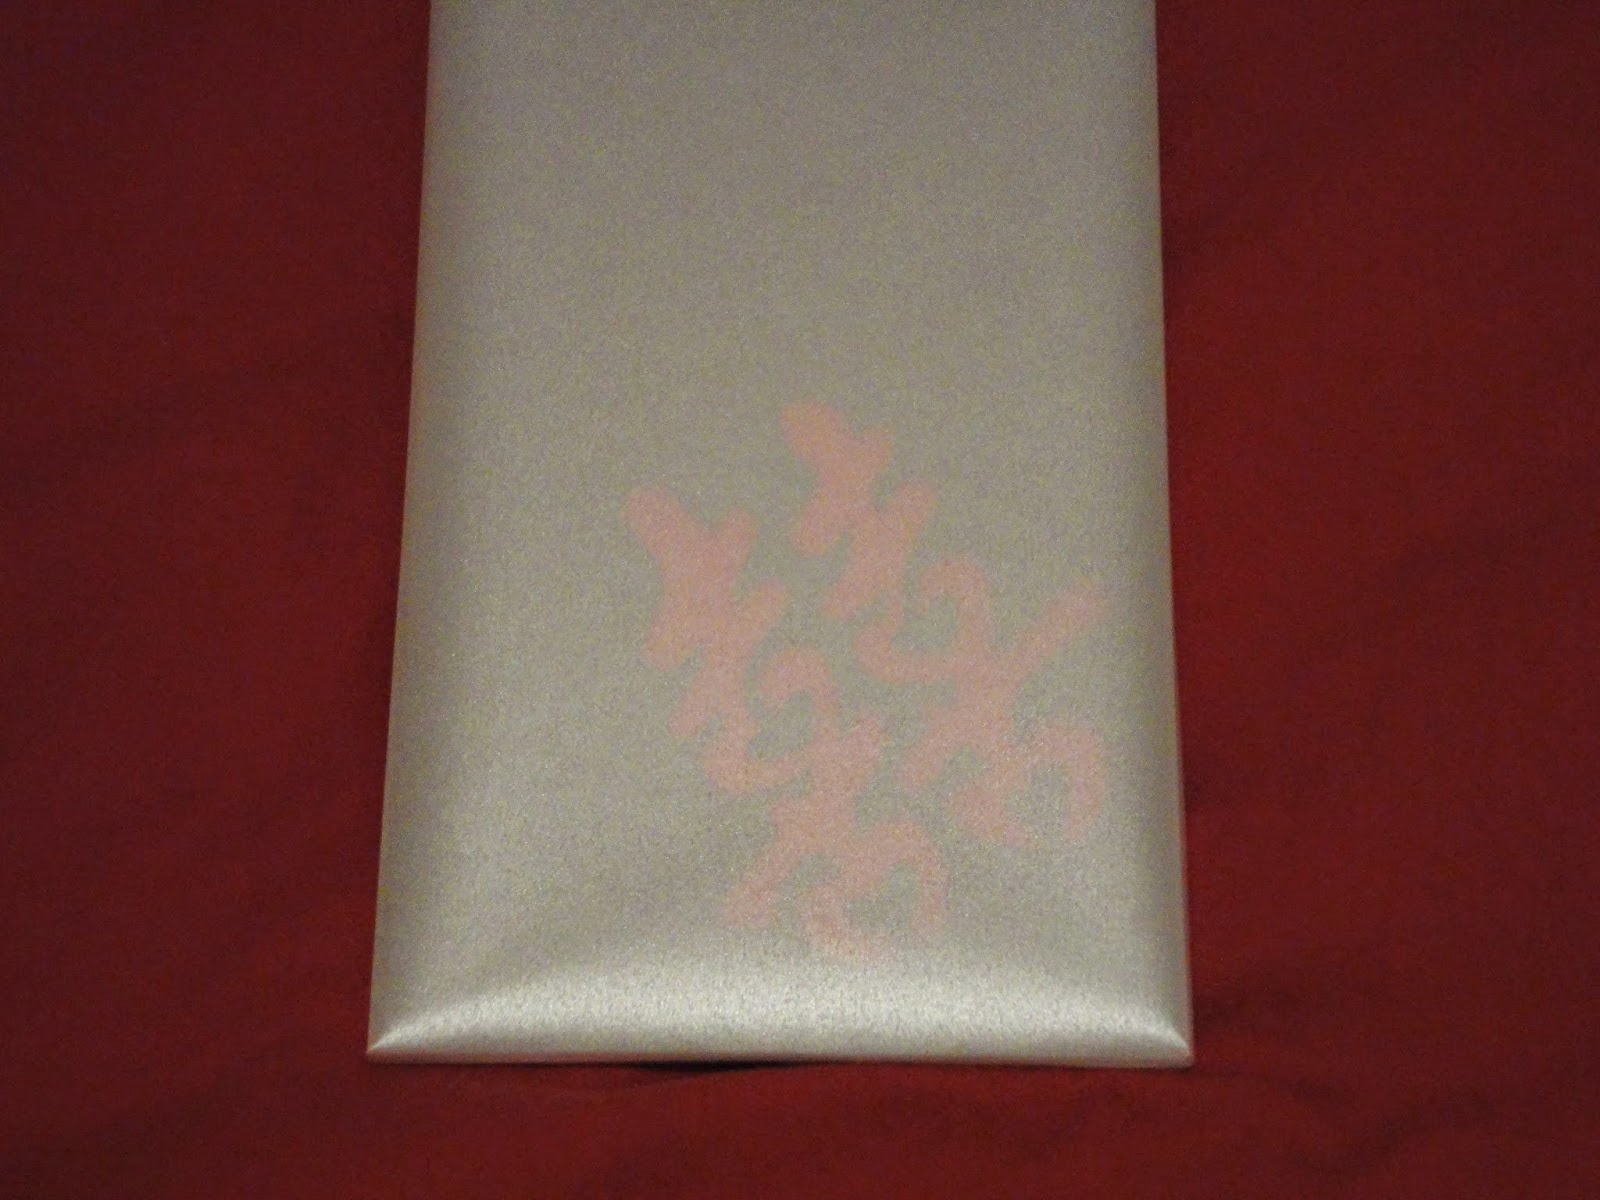
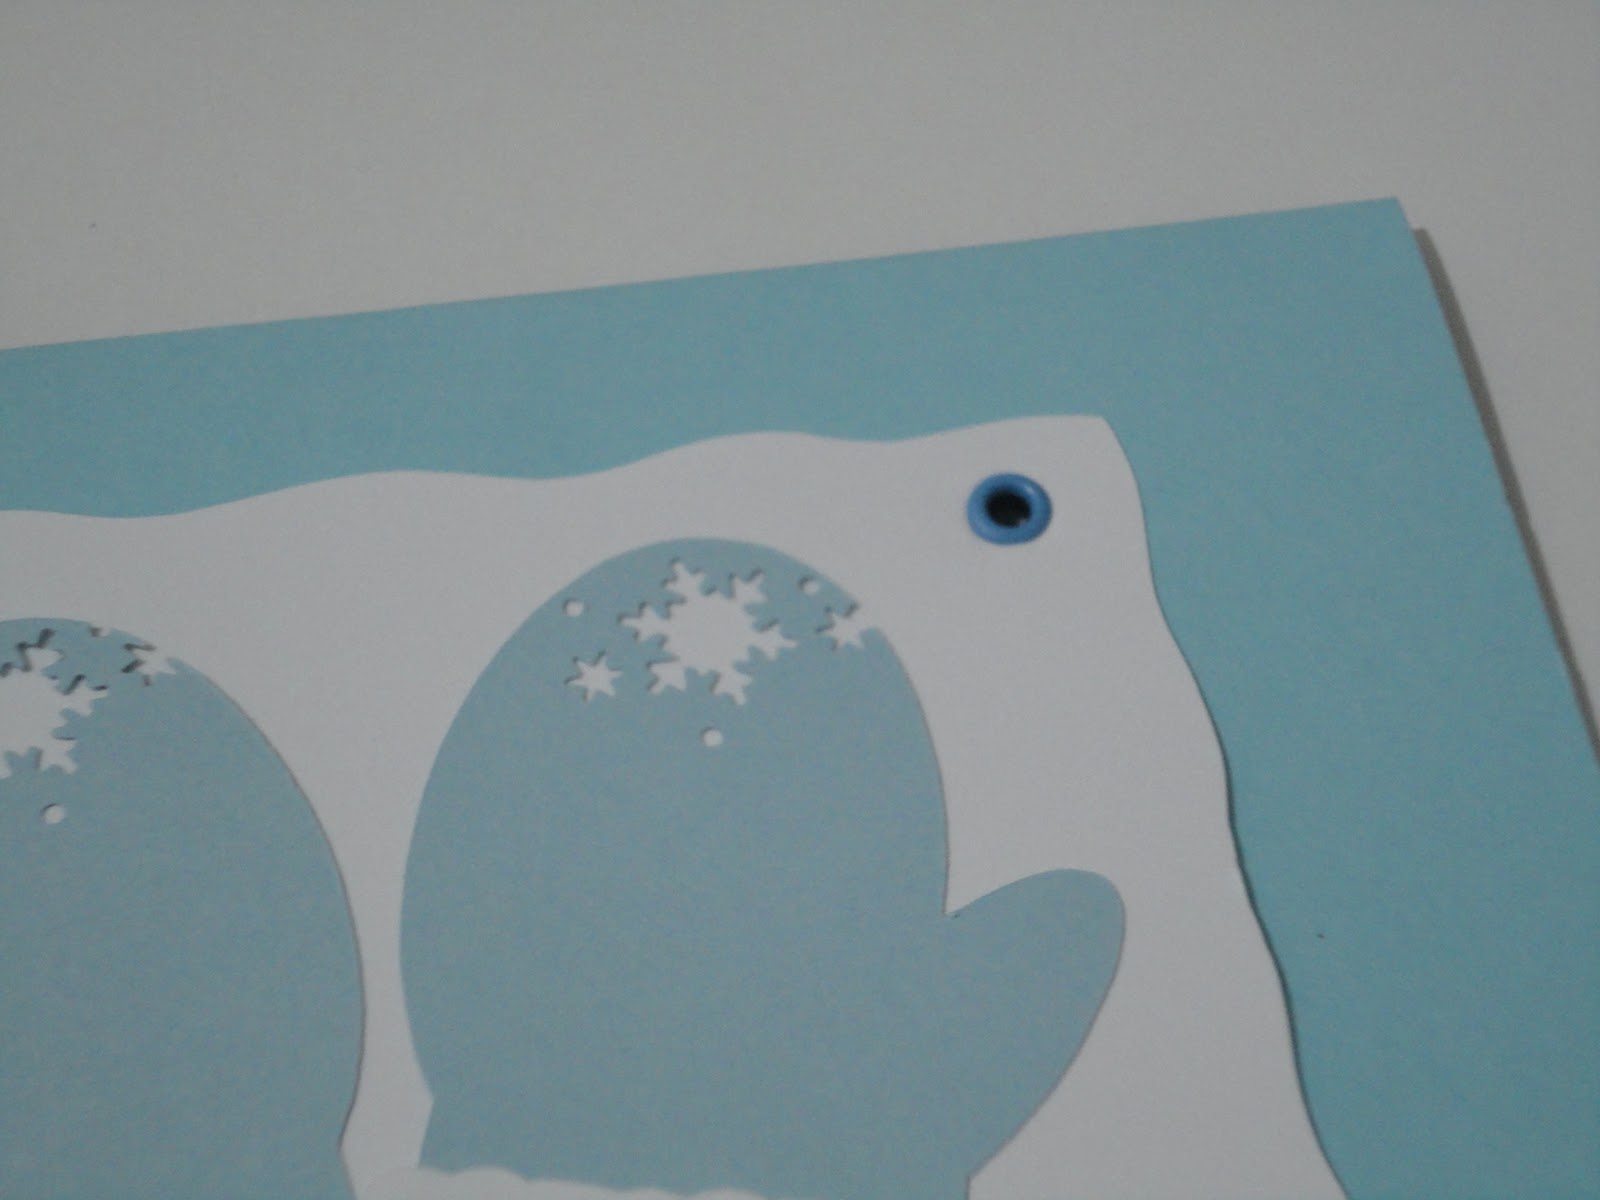
I loved the idea of swatches of the embossing folders, however it seems to limited. So I decided to make swatches of all my embossing folders onto regular paper AND clear acetate sheets .
The swatches of our embossing folder onto paper is standard that many have done on Pinterest. The acetate embossing folder swatches are my own favourite little idea because you can put it over any piece of paper to see how it would look before embossing the paper.
Hope this idea inspires others to come up with more ideas to share with others...
I love crafting and I thought I'd share some of my projects here with everyone else!
Tuesday, April 15, 2014
Sunday, April 13, 2014
My Wedding Invitation
My wedding invitation is a 2 fold 3 dimensional design, with a custom made fitted envelope.
The envelope was made using a platinum vellum, so that it's translucent enough for you to see the wedding logo. The envelope was made using a scoreboard, scissors and sookwang double sided tape.
Before the envelopes were made, each one was printed on my colour printer with the recipient's mailing address and my return address.
This was the wedding invitation all folded up. The real invitation is actually a slightly lighter dark grey. This one was the prototype.
I custom made the logo, modifying the Chinese double happiness symbol so that it has subtle hearts in the symbol. Each invitation would have the logo cut out by my Silhouette SD. My poor baby is going to have to cut over 300 logos...
When you open up the wedding invitation completely, you will have 3 silver panels. Each panel will have the wedding invitation, the translated invitation in Chinese or Vietnamese, and the final panel will have one of our engagement photos.
If you close the far right panel, you will see a red pocket panel. This is where I had information on the reception and direction, the ceremony and direction, accommodations for our out of town guests and limited invitation to the Tea Ceremony. It will also include an RSVP note.
I made, with help from Richard and friends, over 200 personalized invitations.
Tuesday, May 8, 2012
Wedding Card
It has been a while since I last posted. I'm quite happy to post about this latest card.
With the wedding season looming for many, my friend asked me to make her a wedding card for one of her soon to be married friends.
I decided to make a wedding dress card...
This card was designed by me and cut out on my Silhouette SD.
The front of the dress was embossed using the Big Shot to give it a little texture.
The back of the dress was designed to look like a lace up dress.
I used my Crop-a-Dile Big Bite II to add the necessary eyelets...add a little ribbon and voila!
I loved how it turned out.
Inside the card is another cut out of the wedding dress on vellum, to give it some added dimensions.
I stamp embossed a simple "Congratulations" to make it complete.
Quite a simple to make card that I really enjoyed making for my friend.
I hope she likes it!
Thursday, February 16, 2012
Congratulations Jenny & Yuan - Baby Crochet Quilt
Congratulations Jenny & Yuan! Newly wed, now expecting parents!
For my godbrother and his new wife, who are now expecting, I made them and their expected baby a crochet quilt. Yuan's laughing because after years and years AND YEARS, I have been working on a knit blanket for him and to this day, it's still not completed. It'll probably never be completed...hehehe However, after dedicating all of January to the making of a baby blanket for them, it was completed as planned.
The crochet quilt is made up of little hexagon pieces.
Instructions for a single hexagon piece:
Chain 4, form ring with a slst
Chain 2, 19 DC inside the ring, slst to finish the first row
Chain 2, 5 DC inside first DC, skip 2 DC, 6 DC in next DC, repeat around, slst to finish second row
Chain 1, 5 SC inside first DC, SC in next 5 DC then 5 SC in 6th DC, repeat around, slst to finish third and final row.
It takes 7 hexagon pieces to make a patch...
There are 6 different colour patches...
Sewing each of the patches together...
Makes this sweet colourful crochet quilt...
Congratulations Jenny & Yuan! Can't wait for your summer bundle of joy! I'm guessing it's going to be a boy!
Monday, December 26, 2011
More Christmas Cards
Happy belated Holidays everyone! Hope Santa was nice to you, even if you were a little naughty!
Here's a view of some of the other Christmas Cards I sent out during the holidays.
Frosty the Snowmen...
Snowflake Mittens...
Hanging Mittens...
Elf marking his calendar...
Here's a view of some of the other Christmas Cards I sent out during the holidays.
Frosty the Snowmen...
Snowflake Mittens...
Hanging Mittens...
Elf marking his calendar...
Sunday, December 25, 2011
Vancouver Canucks Ornament Christmas Card
It was hard to decide what cards to make for our friends. Some of our friends received custom made Christmas Cards and some of our friends received these Canucks Ornament Christmas Cards, which Richard loves. These were the Christmas Cards I mentioned previously...
It's a fairly simple card to make, once you have all the pieces cut out. The white ornament, Canucks Logo, and Santa hat were all designed and cut out on my Silhouette.
The white ornaments were all embossed with different embossing folders using my Big Shot.
The base of the Christmas Card had all its corners punched out with the Martha Stewart snowflake corner punch.
After all the pieces were taken care of, a little gluing and voila...you have a Christmas Card that can be hung on a Christmas Tree.
Friday, December 23, 2011
Hanging Christmas Stockings
I have been experimenting with other 3D card ideas. In this particular card, instead of gluing down my decorations, I decided to hang it, which allows it to stand out when it's displayed.
Using the Crop-a-dile Big Bite, I added eyelets to the stockings, so that I can string up the stockings securely.
The stockings were designed and cut out on my Silhouette. Once the pieces were glued together, the stitches were hand drawn on with sharpies. I love my huge sharpies collection.
I was very happy how is turned out. A simple idea is really all you need for an adorable card. My co-worker loved this one because it's sooo her!
Subscribe to:
Posts (Atom)